The Ultimate Checklist for Installing Solar Panels for Home Use
Introduction
The decision to switch to solar energy is usually a clever one on the part of the homeowner. The fact that it helps reduce energy bills and assists with green living as you go about line is a great selling point. In Columbus and other cities across the U.S., families are turning to solar installer Columbus as a way of decreasing their reliance on typical sources of power. But before you go, it’s important to have a clear checklist, so the process is quick and efficient, hopefully with a good financial outcome.
This blog offers a step by step checklist guide to installing solar panels for home enabling homeowners to make educated decisions in participating toward a green future.
And that’s the first step to determining what your energy needs truly are.
The first thing to do is figure out how much electricity your home uses. Previous utility bills can give you a sense of how much electricity you use each month and year.
Step 1 : Know Your Energy Needs
This will help you size your solar panels for home systems more precisely and not go overboard investing in a capacity that is not required.
Checklist:
Go over electricity bills for a year. Write-down your energy consumption that’s your daily-repetitive.
Take into account future patterns (like electric vehicles or additional appliances).
Step 2: Evaluate the Condition of Your Roof
The health of your roof is essential to the success of solar installer Columbus. Evaluate the structural condition of your roof to ensure that it can accommodate solar panels. A roof that is at the end of its life may require repairs or replacement before installation.
Checklist:
Check the state of your roof.
Keep sunlight obstructions such as trees or nearby buildings to a minimum.
Check the direction of your roof and its angle to maximise exposure to sunlight.
Step 3: Look into Rewards and Rebates
Solar incentives: There are a number of incentives which can drive the decision to go solar. Federal tax credits and Ohio-specific programs, as well as local rebates can help lessen the upfront costs of solar panels for home in Ohio.
Checklist:
Submit for the federal solar Investment Tax Credit (ITC).
Look for Ohio state programs and Columbus-based incentives.
Study net meter and obtain dollars for beating surplus.
Step 4: Have A Professional Energy Audit Done For Your Home
All of this is by way of saying how a home energy audit will help isolate areas where your home can be more efficient long before the first solar panels are installed. At the most basic level, plugging air leaks, adding insulation or upgrading to energy-efficient appliances can all reduce your energy load enough to let you buy fewer solar panels.
Checklist:
Book an energy audit from a qualified professional.
Spot upgrades that cut down on electricity use.
Implement improvements before installation.
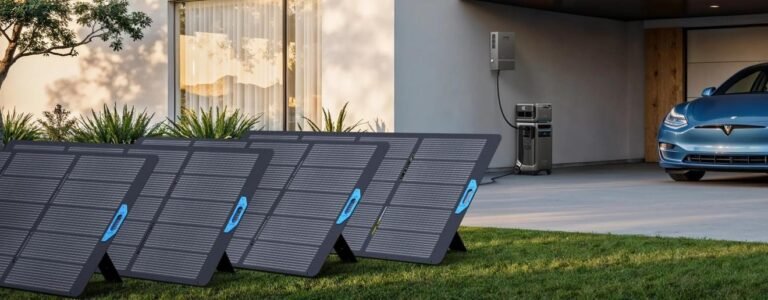
Step 5: Get the Right Solar Panels
Some solar panels are better than others. From monocrystalline to polycrystalline and thin-film there’s something for everyone, it just depends on the depth of your pocket, efficiency and amount of required roof space.
Checklist:
Compare JavaScript types (monocrystalline = most efficient, polycrystalline = cheaper).
Look over manufacturers’ warranties (20 to 25 years is typical).
Make sure the panels you are considering are both performance and durability tested.
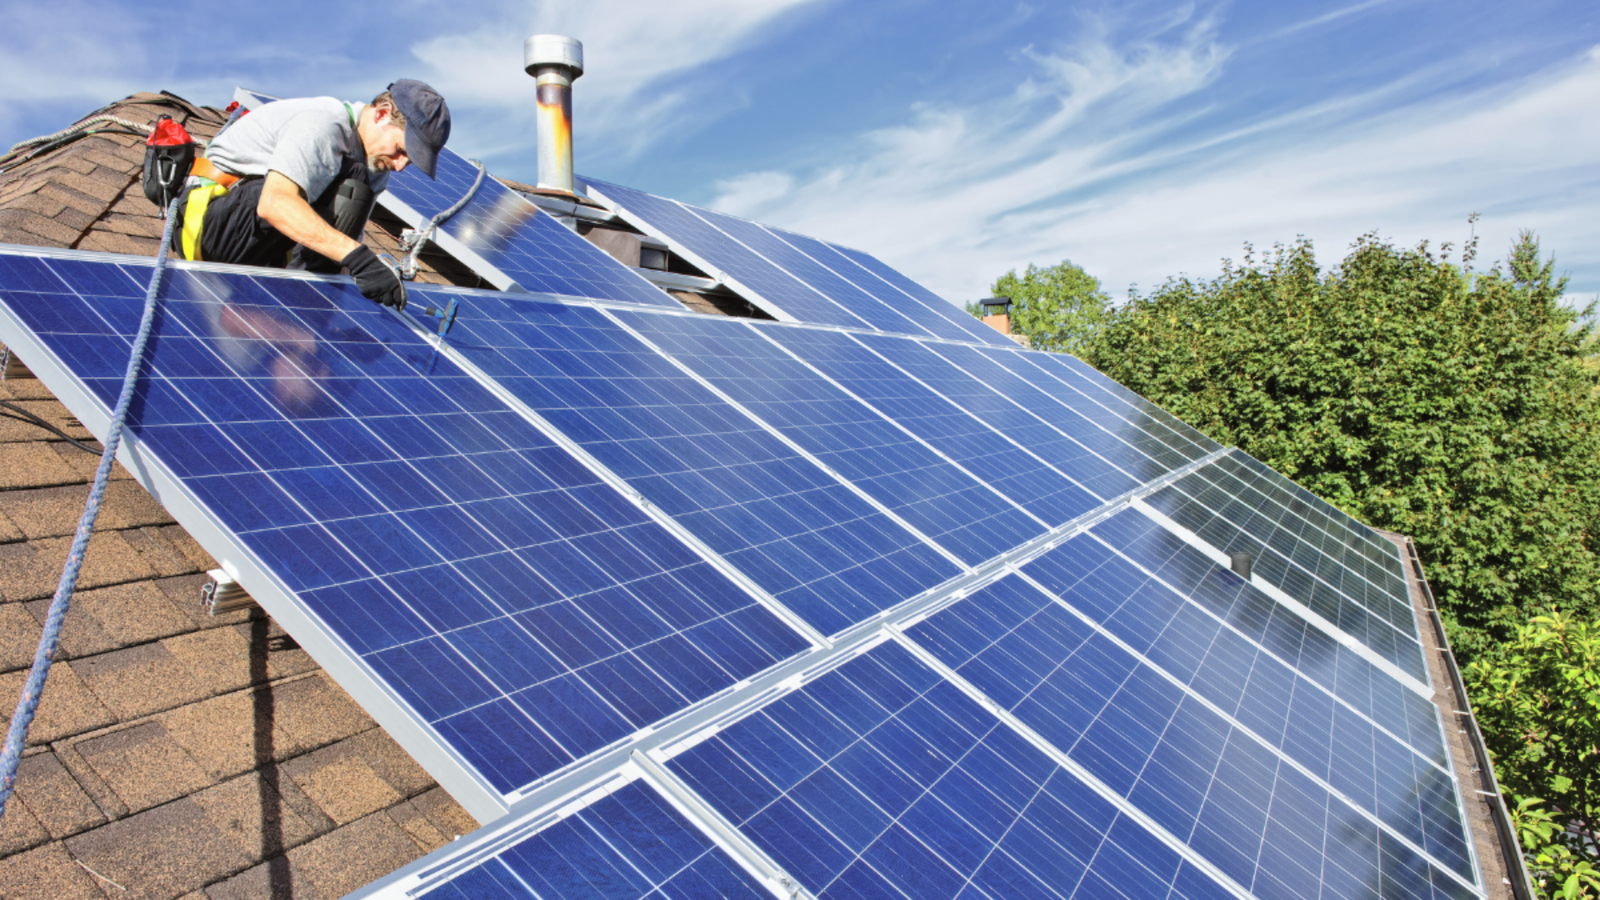
Step 6: Choosing a Dependable Installer
The installer is everything when it comes to your solar project. A respectable solar installer Columbus will provide an installation that’s installed in the correct position, has been done well and reliable aftercare is provided.
Checklist:
Verify installer’s licenses and certifications.
Read customer reviews and testimonials.
Inquire about maintenance packages and service guarantees.
Request multiple quotes for comparison.
Step 7: Plan for Financing
Solar panels are expensive, but you do not always have to pay the price upfront. There are options for financing, primarily solar loans, leases and power purchase agreements (PPAs) that make the transition to solar more attainable.
Checklist:
Consider cash purchase vs. solar loan vs. lease.
Determine long-term savings with each alternative.
Select a payment plan that fits your budget.
Grasp the Permits and Regulations
Step 8: Local permits
solar installer Columbus local governments usually need you to get the proper permits for your own system. The paperwork will likely be taken care of by a good installer, but it’s helpful to know zoning laws, HOA restrictions and what the inspection process entails.
Checklist:
Verify city permits and zoning approvals.
Review neighborhood or HOA rules.
Schedule inspections with local authorities.
Step 9: Get ready for the big day
It’s installation time once everything is approved. Typically this process takes one to three days, depending on the size of the system.
Checklist:
Give installation crews room for working.
Reconfirm installation lead time and schedule with installer.
Ask about disruption during installation.
Step10: Monitoring and Maintenance of the system
Once installed, monitoring monitors your home solar panels at peak performance. Many systems include digital apps that allow you to monitor energy production in real time.
Checklist:
Install monitoring software or apps.
Schedule regular checks every 1-2 years.
Ideally, keep panels clear and clean of debris or snow.
Benefits of Following This Checklist
Saves Money: Stops the bleeding and uses cut outs long-term.
Efficient: Your system meets your energy needs and roof specifications.
Peace of Mind: Limits liabilities for legal, structural and performance failure.
Sustainability: Ensures your solar installer Columbus works in the most efficient way possible toward minimising environmental impact.
Conclusion
Solar panels for home use is a game-changer, as it saves you money, raises the value of your property, and helps care for earth. With this ultimate checklist, checking your energy needs, surveying the roof for potential problems, type of panels and handy websites, finding an installer that you can be sure will do a decent job — there’s no reason to receive the transition into using the sun’s rays with hesitation.
Columbus citizens are ushering in a new era of clean energy, and you can be a part of it with Columbus solar panels from the current electric company. With the right planning, your home’s transition to solar energy Columbus can save you money while also being great for our planet!
FAQs
Q1: It takes about 1 – 3 days to install solar panels for your home, depending on the size of system you purchase.
Installation itself usually only takes 1-3 days but the complete process, including permits and approvals can take from 4-8 weeks.
Q2: How much does Columbus solar panel installation cost homeowners?
On average, installation runs $12,000 to $20,000 before incentives are factored in, depending on system size and type of panel.
Q3: Are solar panels effective in winter in Columbus?
Yes, solar panels do work in winter. Although efficiency may suffer initially because of snow, cold temperatures can eventually enhance the performance of a panel.
Q4: How many years do solar panels for home last?
With minor upkeep, most solar panels will last for 25–30 years.
Q5: Can I put solar panels on an old roof?
It’s not recommended. If your roof is on the cusp of needing to be replaced, replace or repair it before adding solar panels.